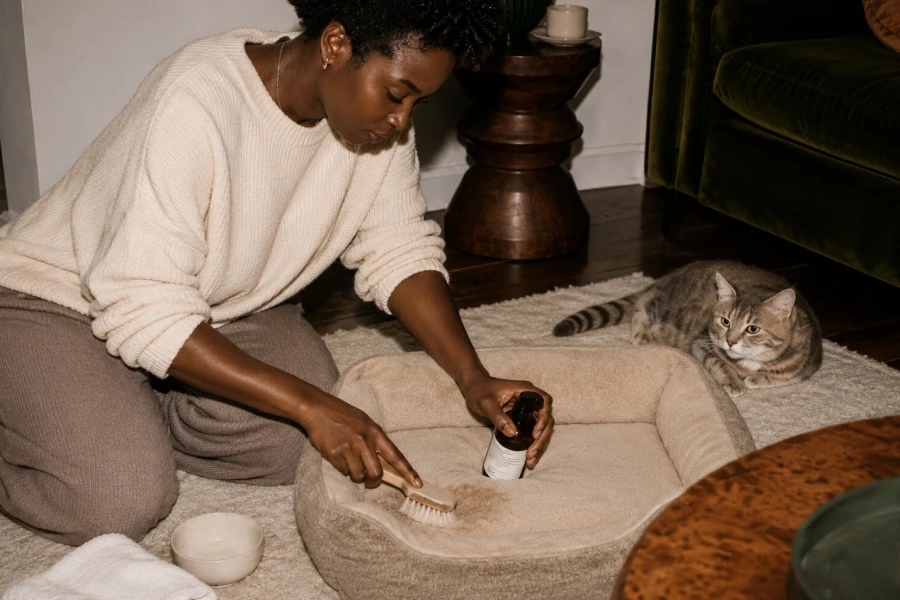
Clean fabric is only half the job when a pet bed has been washed. The real challenge begins when thick padding holds water where you cannot see it. Reliable pet bed drying tips help owners preserve loft without creating damp, stale corners. A bed may look dry on top while the center remains cool and heavy. That hidden moisture can affect comfort and create unwanted odor later. Shape also matters, especially for bolsters that support a pet’s head and body. Drying should restore the bed, not simply remove visible wetness. A slow, deliberate finish often works better than a hot, rushed one. Think of the process as rebuilding the sleeping surface after cleaning. Once you do, the choices around airflow and heat become much clearer.
Start by removing water in a way that does not stress the construction. Press thick areas between clean towels instead of wringing them out. Squeeze along seams gently, especially where stuffing tends to gather. Turn the bed over and repeat on the underside. This step shortens drying time before any heat reaches the fabric. It also keeps the filling from settling into one dense clump. A careful pet bedding maintenance plan begins with moisture control, not just clean surfaces. Replace soaked towels as soon as they stop absorbing effectively. Avoid twisting foam pieces, because they can lose their original shape. Light pressure and patience do more than force ever will.
Moisture hides most easily in dense foam, boxed edges, and quilted cushions. Feel the bed in several places rather than checking only the center panel. Pay attention to areas near zippers, piping, and layered fabric. Those details can remain damp after the rest feels dry. Set the bed where air can reach both sides whenever possible. A rack, breathable chair, or clean drying surface can make a real difference. Do not place it directly against a wall or thick carpet. Leaving space around the bed reduces the chance of stale pockets forming. Check again after a few hours because interior dampness can travel outward. A thorough inspection prevents unpleasant surprises when your pet curls up later.
Shape deserves attention while the materials are still flexible. Fluff bolsters from end to end with both hands. Separate any bunching before it sets in place. Smooth flat cushions so their corners stay square and supportive. The goal is not a showroom-perfect look. It is a surface that feels even beneath your pet’s weight. Gentle work helps preserve pet bed shape after water and movement have shifted the filling. Return inserts to their covers only after each component dries fully. Take a few extra minutes to correct uneven areas before they harden. Those moments protect comfort for many future naps.
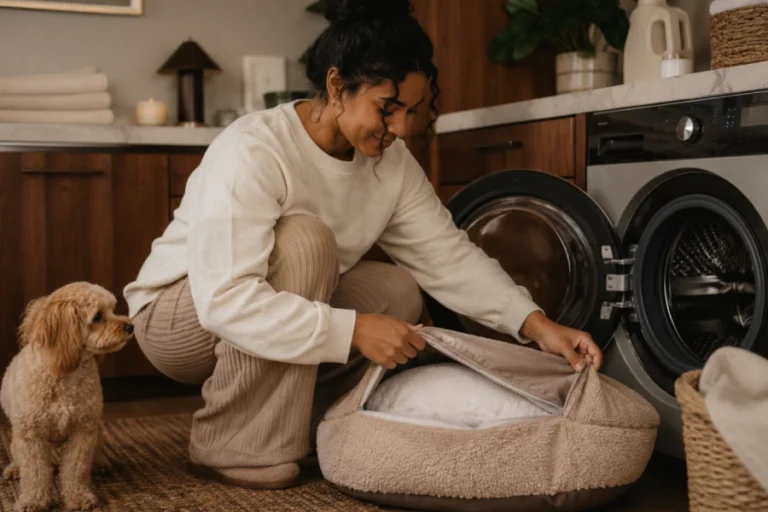
Heat can be useful, but only when the label and material support it. Low heat is generally easier on plush fabric than a high-temperature blast. Pause a dryer cycle to turn the item and loosen compressed sections. Air drying is often safer for foam, memory foam, and delicate trims. Fans can speed airflow without forcing materials to tolerate extra heat. Keep the bed away from direct radiators or intense sunlight if fading is a concern. Watch for shrinking, stiffening, or edges that begin to curl. These signals mean the material needs a gentler approach. Drying is successful when the bed stays soft as well as dry. Treat heat as one option, not the default answer.
Freshness depends on complete dryness more than fragrance. Avoid covering lingering dampness with sprays or strong perfumes. Instead, focus on air circulation, clean towels, and careful reshaping. Strong odor control for pet beds comes from stopping moisture before odor develops. Once the bed is dry, give it a light shake and a final seam check. This is the time to remove any stray fur or trapped debris. Let your pet inspect the restored bed before moving it back. Familiar scents and textures often make the transition easier. A well-finished drying process keeps clean bedding comfortable longer. It also reduces how often you need to repeat a full wash.
Drying is not an afterthought; it is part of protecting the bed’s useful life. Slow airflow, low heat, and occasional reshaping make a meaningful difference. Each bed will reveal its own needs after a few cleaning cycles. Keep notes if foam, plush covers, or bolsters respond particularly well to one method. That knowledge makes future care easier. A fully dry bed feels lighter, fresher, and more inviting. Your pet notices the comfort even when you do not see the work behind it. Put the bed back only after you are confident no hidden dampness remains. That final pause protects both hygiene and relaxation. A softer finish starts with a more patient dry. Let the finished bed rest in open air for a final moisture check. That last pause reinforces every earlier careful step.

Leave a comment